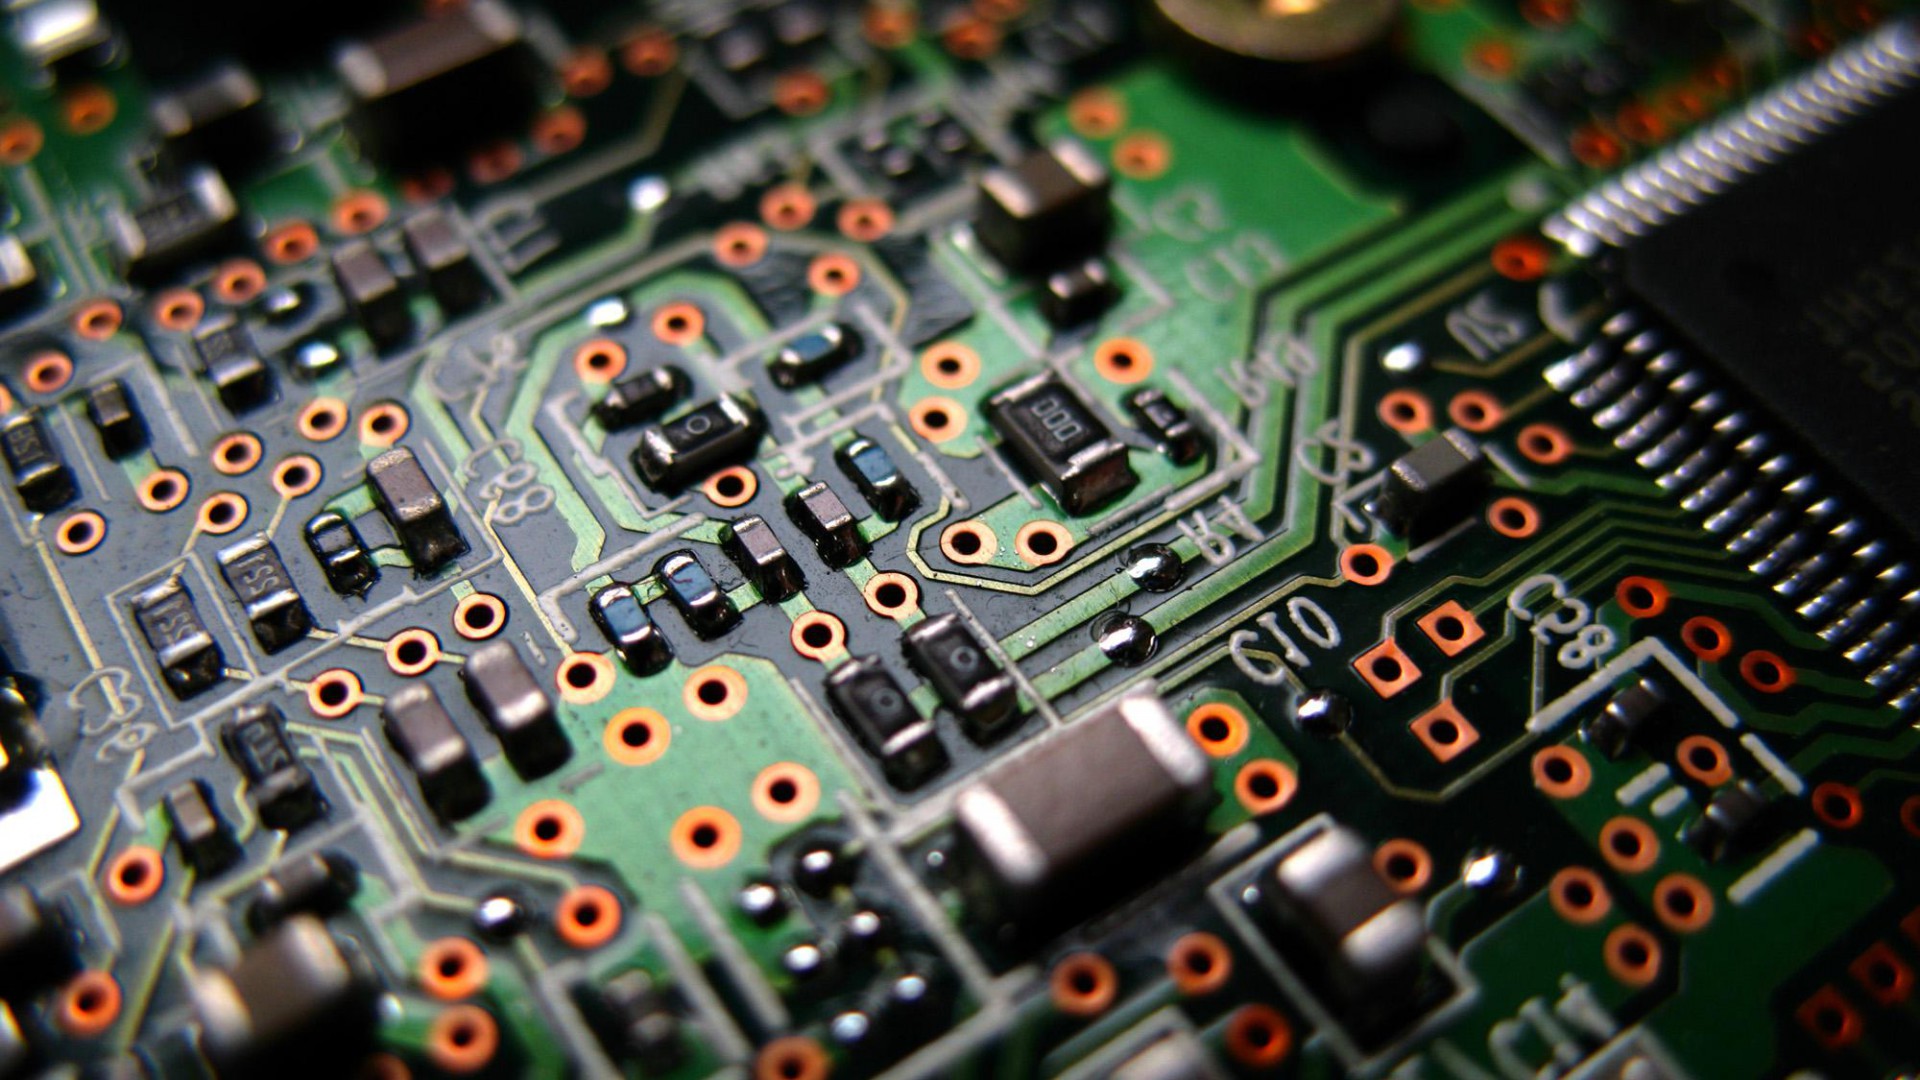
Home PCB etching is a cost-effective approach for creating PCB prototypes in a domestic setting, and it’s a fundamental skill for any hobbyist. One can employ two primary chemical etching methods for PCBs at home. The traditional method employs Ferric chloride, which tends to create stains and can be messy. On the other hand, the alternative method involves using Hydrochloric acid and Peroxide, offering a faster and cleaner approach without leaving any stains.
This blog explains the toner transfer method of PCB etching using Hydrochloric acid for etching. For the sake of this blog, I assume that the PCB has been already designed. and the layout is available. If you don’t have it yet you can use a CAD software like KiCAD to design it.
Raw Materials
- Hydrogen Peroxide: Available in Medical Shops
- Hydro chloric acid : Available as domestic acid for ceramic cleaning or pool cleaning
- Toilet Cleaner: I use Harpic but I guess anything will do
- Copper Board: PCB board of appropriate size
- Photo Paper: Available in stationary stores or studios
- Laser Printer
Process
Printing
Print the image of the layer containing the tracks on a good quality photo paper (Paper meant for printing photos) using a Laser Printer. While printing ensure that the image appears mirrored as while transferring the image on board it gets mirrored again.
Transferring
- Wrap the paper around with the printed side down over the coper surface of the board. Stick the paper over the board so as to arrest its movement.
- Take a hot iron press set to max heat and then press it evenly over the board. The toner should start appearing on the back side slowly.
- Immediately dip the board in a bucket of cold water and wait for the board to cool.
- Scrub and remove the top layer of the paper. Do not peel it off.
- As you continue scrubbing the tracks will start getting visible. Cautiously every time as you scrub try to notice if the track is breaking.
- Repeat steps 2 to 5 until the tracks are completely transferred and paper is removed.
Pre-Etching:
- The board is almost ready for etching but if you wait till the water dries you can see white paper marks between the tracks. If that is present it will act as a mask too and the tracks will get short circuited. To remove it I use few drops of toilet cleaner and gently scrub it with brush. It comes out within no time.
Etching
- Take Hydrogen peroxide 1 parts and 2 parts HCl and mix it. It is better to mix Hydrogen peroxide in the acid. Dip the copper board in the solution and watch the magic happen. The solution will turn green within minutes. Keep stirring till the copper is completely removed.
Post Etching
- Use cotton wool and scrub the black toner off. Otherwise you can’t solder the component over it. Drill the holes using a drill and cut the excess board.


Leave a Reply
Only people in my network can comment.